When you can not find what you need in retail stores, or online, it is then time to create it yourself.
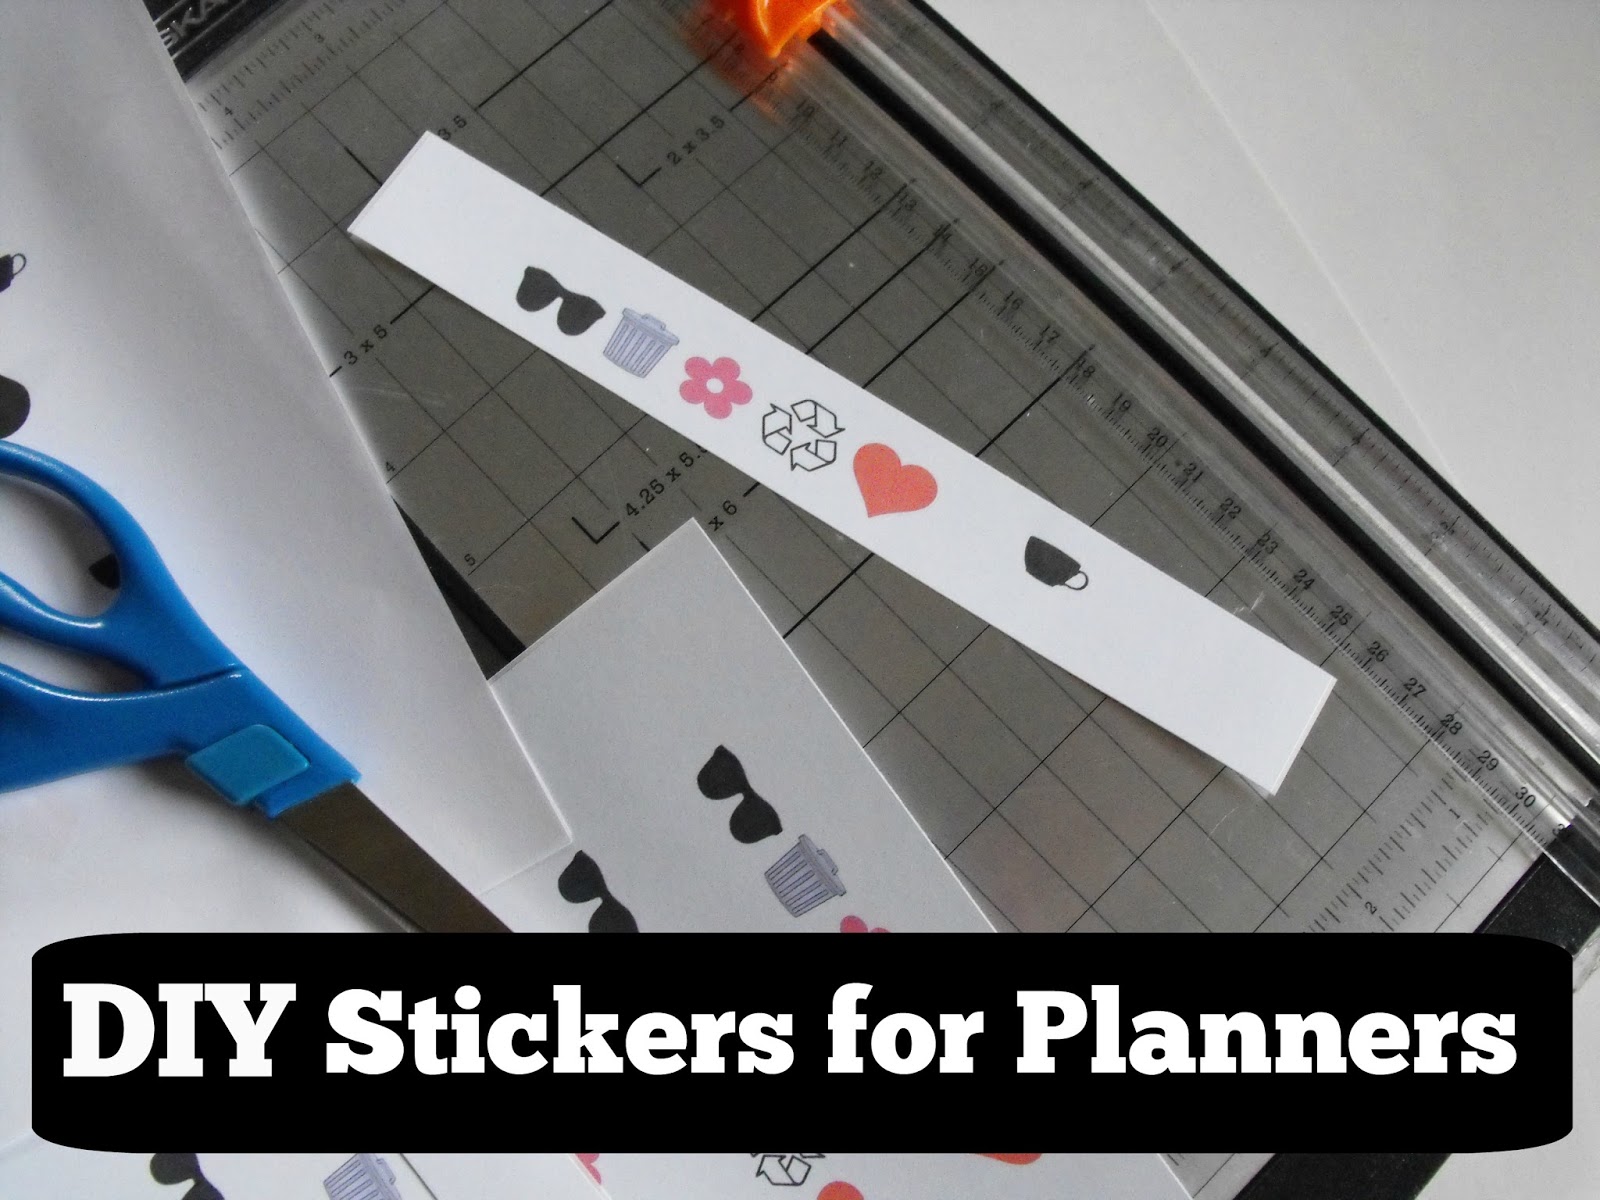
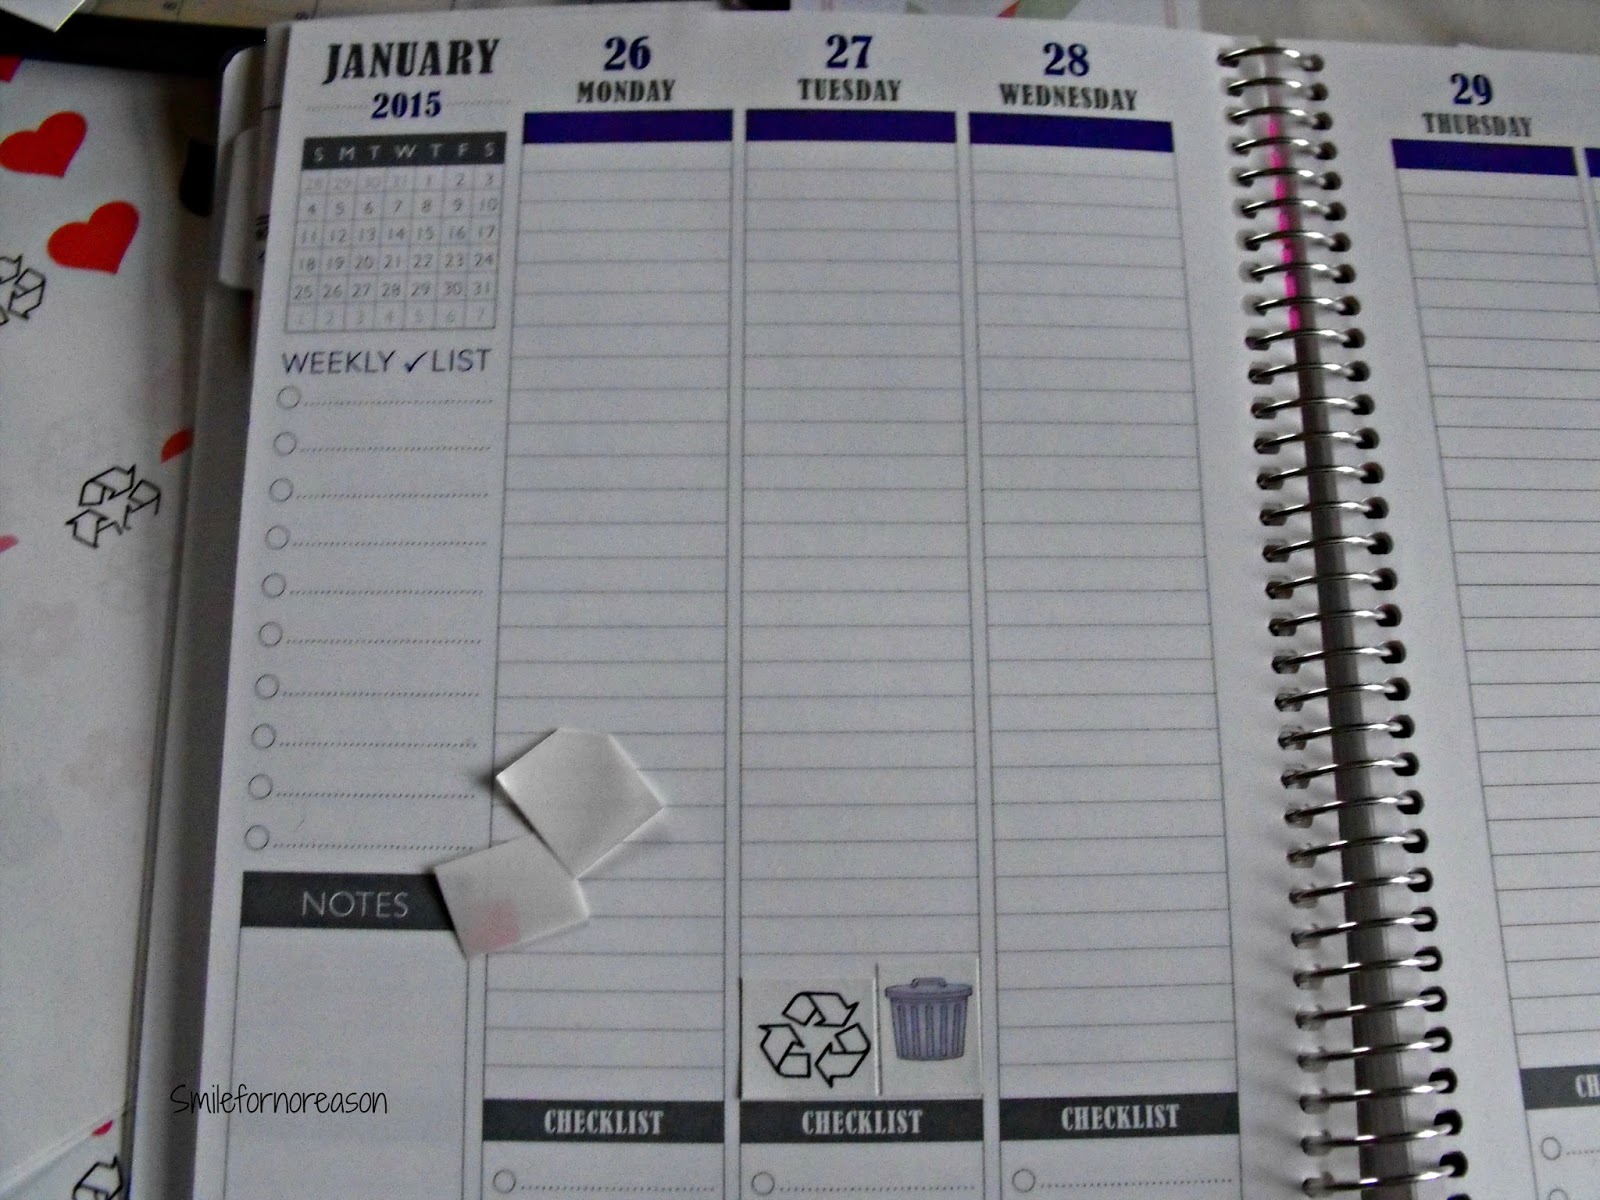
I wanted to use stickers to remind me when the trash and recycle trash went to the curb. So, I made stickers using my computer, my copier and an Avery 81/2 by 11 inch sheet of White Shipping Labels. By doing this myself, I was able to create the stickers that were exactly what I needed to put in my planner.
(Disclaimer: Different computers use different programs. Use the programs on your computer that work the best for you.)
To begin this project, I Googled images that I was looking to use in my planner. I made sure that I searched for images using the word, Vector. Vector does not distort the pixels when they are resized.
I chose which images were appropriate, then saved them to my computer in a file. Be sure the images are free to use and not infringing on any copyright laws. From here, I copied and pasted the image to my Microsoft word document.
After I had the stickers I wanted and arranged how I wanted them, I printed the document to a test sheet of computer paper. This I did before I printed them to the Avery sticker sheet.
These shipping labels are sold in transparent and white sheets. My local Staples only had the white stickers available.
When I was satisfied with the layout of the test stickers, I was then ready to print them on the sticker sheet.
Using a Fiskars paper trimmer, I cut close to the image to attain the desired size of the sticker.
Now instead of using a paper trimmer, craft scissors can be used for cutting out your images. Also, if you so desired, you could cut around the image as close as possible, so as not to leave a white edge around the image.
I was using the images for my planner, so I cut the stickers into small squares. Now, I have cute little stickers that remind me when the recycle trash needs to be put on the curb.
With just a few steps you can create your own diy stickers. Here, again, are the steps.
1. Collect your Vector images.
2. Download the images to a file in your computer.
3. Upload the images to Microsoft word document.
4.Test print to an 81/2 by 11 inch piece of printer paper.
5.When satisfied with the test, print to the Avery 81/2 by 11 sheet of White Shipping Labels.
6. Cut apart.
For a video visual on how to create these diy stickers, check out Strange and Charmed You Tube video.
Now to you-
What other stickers would be helpful in your planner?


No comments:
Post a Comment
Comments are greatly appreciated. I read every one.