


I was looking through Pinterest, when I spotted a fork with ribbon wrapped through it. So I went to You Tube and watched videos on how to make these easy, cute, little bows. I want to share this easy DIY.
My handsome husband helped me take pictures of this post.
Thank you very much handsome husband!
Your bows should look something like this.


(Please open and expand the pictures for a better view.)
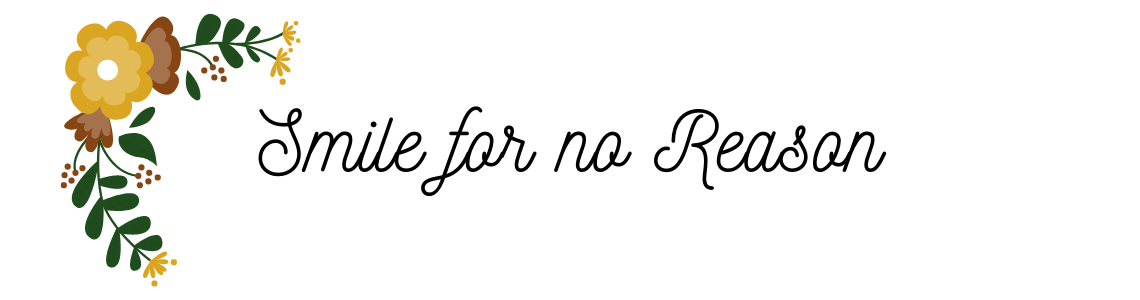
Gather together your desired ribbon cut to approximately 6 inches, a pair of scissors, and your fork. For larger bows, you can use a wide toothed comb. When using a fork or comb always make sure you are using the same amount of "prongs" for each side of the bow otherwise your bow will be lopsided when finished.

Wrap the ribbon around the fork, leaving the ribbon on the back side of the fork longer than the front ribbon.
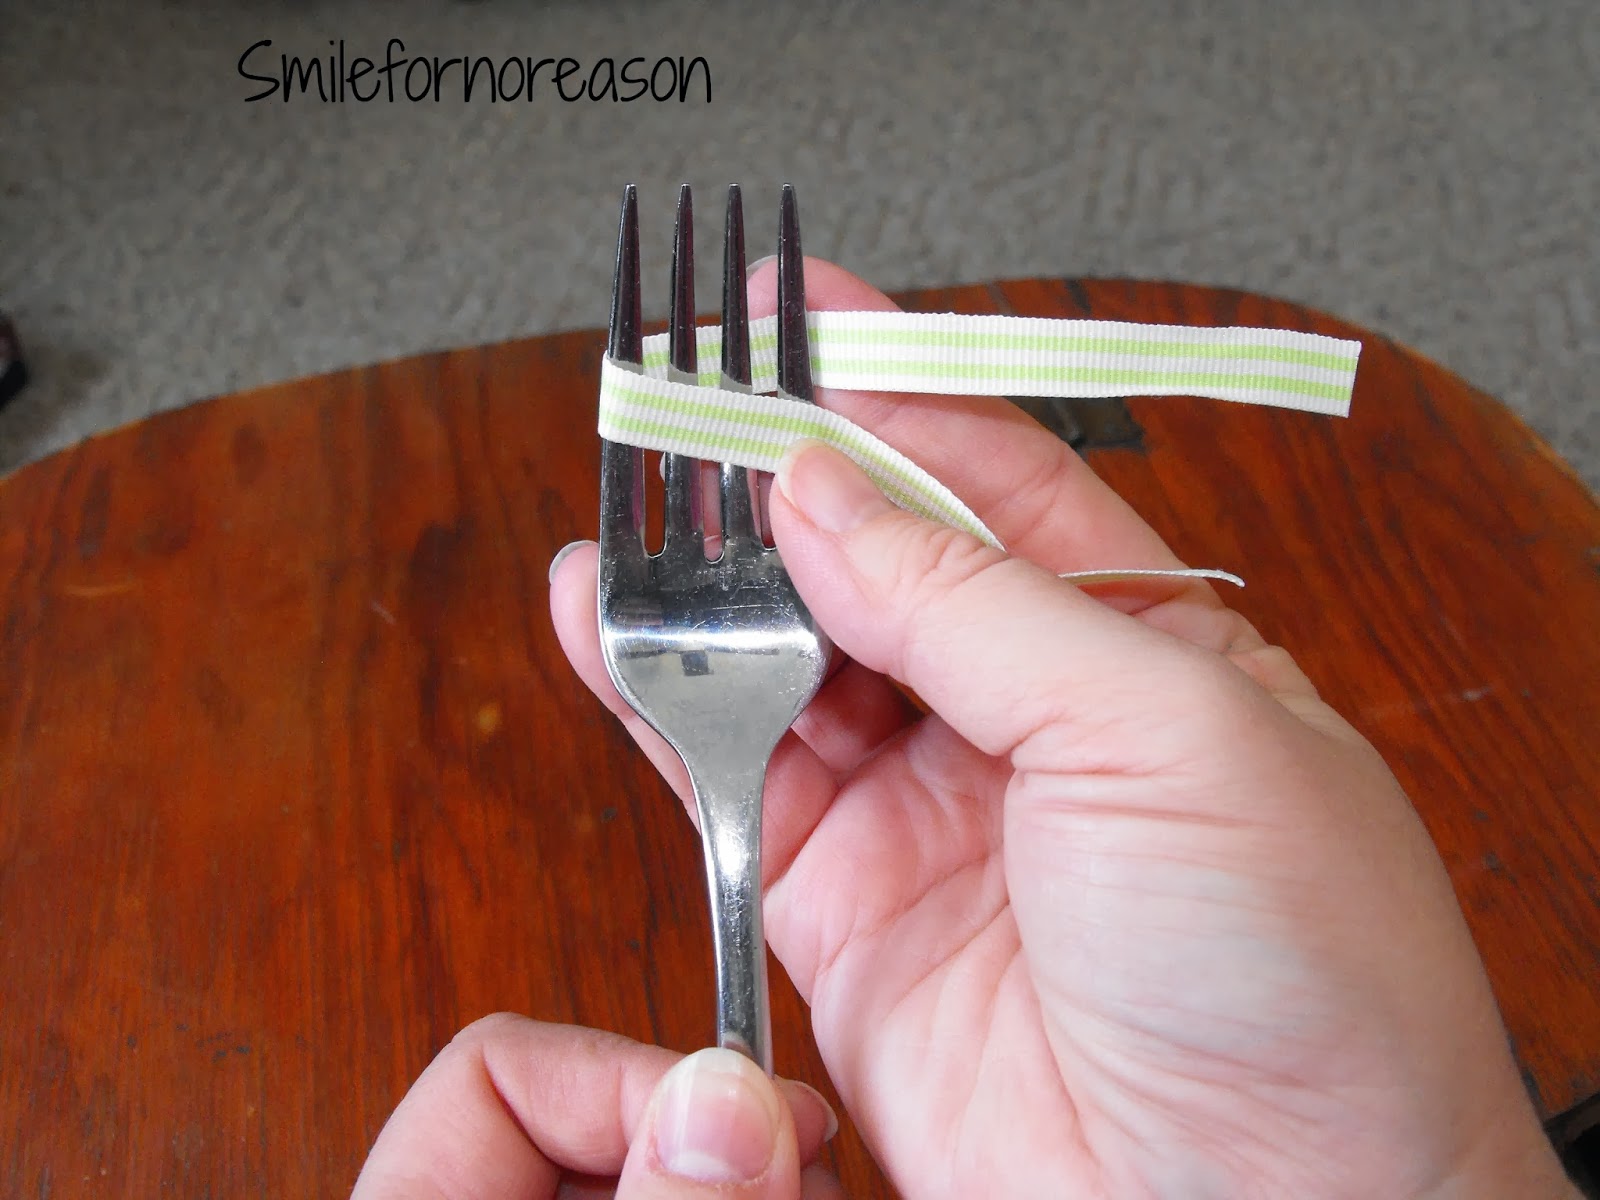
Wrap the back ribbon to the front. Insert that ribbon in the middle open space below the working ribbon.

Then bring the ribbon behind the fork and insert back through the same open space this time above the working ribbon.
Both ends of the ribbon should be on this side of the fork. Make a knot.

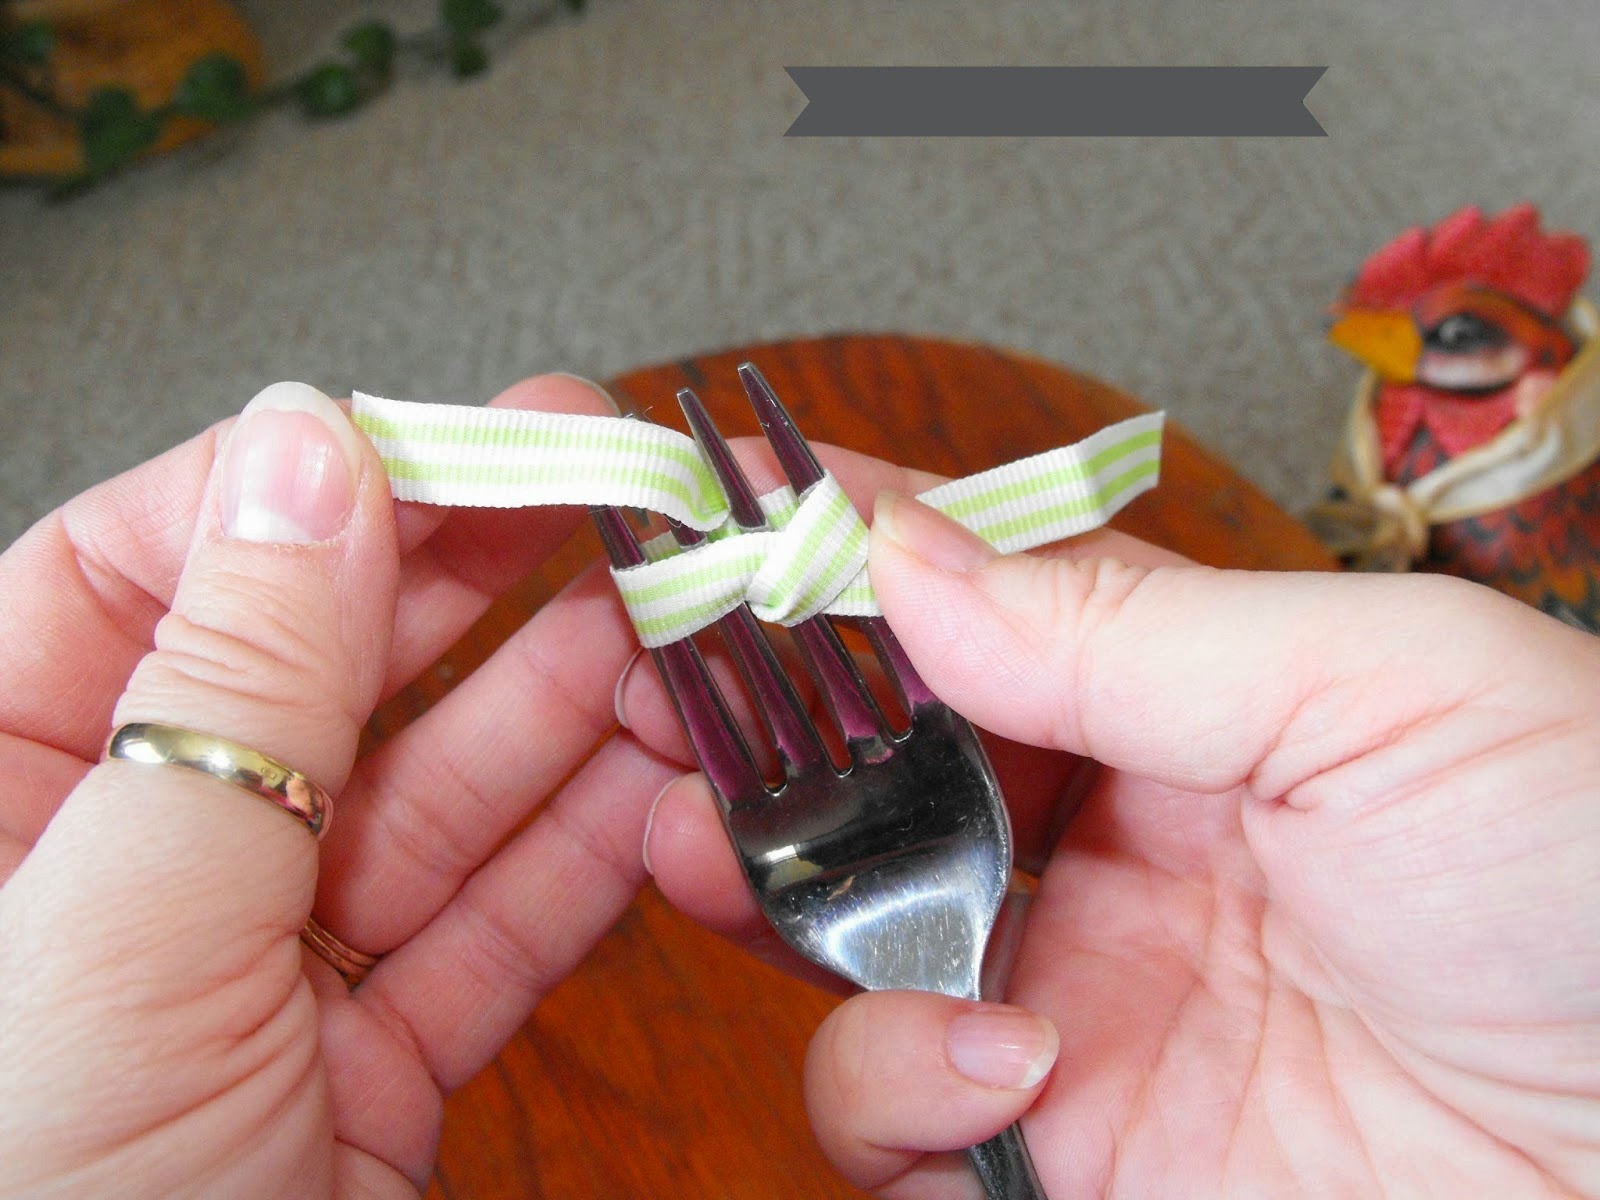
And pull tight.

Turn the fork over and this is your bow!
Now gently remove your bow from the fork. Cut off the ends to your desired length.
Work with the bow some to get the ribbon to lay as flat as you would like it to and here is the finished bow..

So cute. Great for scrap booking. Attach to a hair clip for a young girls hair bow. Cute idea to place on a handmade card.
Let me know in the comments below if you have tried this project.
Everyone, thank you for reading
Have a blessed day!
~Kathy~

No comments:
Post a Comment
Comments are greatly appreciated. I read every one.